Basic setup
Let's begin by rezzing the included [Black Tulip] Grandfather Clock - SAMPLE TO SETUP sample object, designed to help understand how to set up all the features of the clock script.
Right click to Edit, and tick Edit Linked. Depending on your building skills, you may need to first rotate the lower door, to open it, so the pendulum is accessible. Select the pendulum prim. Change its name to pendulum, like the following picture shows:

It matters not what you write on the description, but make sure you type the name exactly as instructed, all in lower case. It's case sensitive for the script.
Now untick Edit Linked, so the whole object is selected:

and click over the Content tab, which should be empty at the moment:

Drag the [Black Tulip] Analog Clock - PENDULUM Aux. Tool script from your inventory to the object's Content tab:

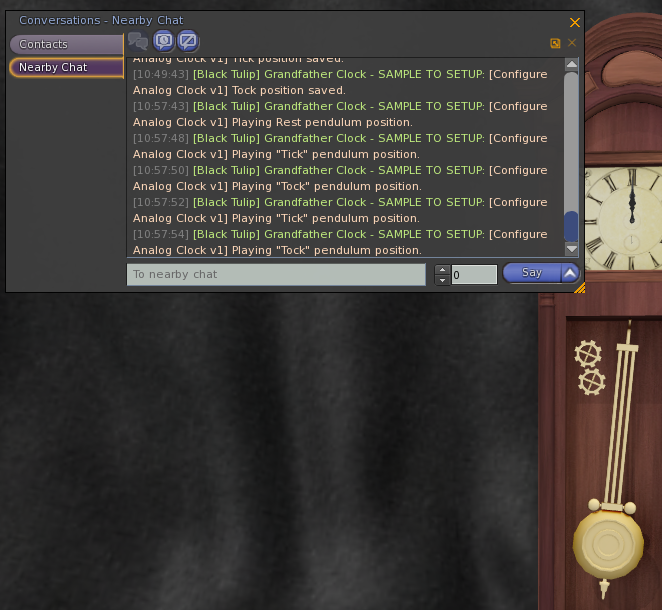
and wait for a message in local chat, letting you know that the script is ready:

Now click on the clock, to have a menu show up:

We're studying some of the functions in this section, leaving for the Rest of Options section the explanation of the rest of buttons. The first thing we have to do is setting up and saving three key positions for the pendulum: rest (where the pendulum should be when not in motion), tick (pendulum having moved to one side), tock (pendulum having moved to the other side).
It matters not the order we follow, to save the positions. We are starting with the rest position, because the pendulum already is in rest position when we rez the object, but we can save this position at any moment.
We click Save Rest on the menu. A message in local (nearby) chat informs us that the operation has been performed:

Now again we edit, tick Edit Linked, move the pendulum to one side, and click Save Tick on the menu. We can see a message in local chat, informing us of this:

(If you miss the menu, or if it times out, you can always bring it up again by simply clicking the object. Time out is set to five minutes, to give you time to edit the object and save positions while it's up.)
And we repeat, now for the tock position, clicking Save Tock on the menu:

After we've done this, we can check if the positions saved are the ones we want. How do we check this? By using the "Play Tick", "Play Tock" and "Play Rest "buttons from the menu. This will move the pendulum prim(s) to the saved positions.
If no position was saved, a message will inform us.
Once we're okay with the positions saved, it's time to confirm, so the script outputs to chat the text we need to add in the configuration notecard.
The first we have to do is clicking the CONFIRM! button. This will output some text in local chat:

Notice how after we've confirmed, the script is removed automatically from the clock:

We have to copy all the TICK-TOCK-REST lines from chat, in the same order they show up (numbers after pendulum have to be in order), under the # Pendulum states line of the notecard (actually, you can copy them anywhere in the notecard, but if you feel unsure, then copy them there.)

NOTE: If you play the Rest/Tick/Tock positions, and the pendulum doesn't move, check the name of the pendulum prim(s). All prims that are part of a pendulum, have to have the same name, which is pendulum. Fix this, and reset the script. You can use the [*RESET*] option from the menu.
NOTE: Our example has used a pendulum with only one prim, but your pendulum may have several prims. Also, you may move and rotate your prims, not just rotate like in this example. The sample pendulum is ready to pivot correctly around the top part, but not all pendulum prims you may have, or build, will be constructed that way. It's fine, the script will manage them too: it saves position and rotation per pendulum prim. What you have to remember is that you have to give all those prims, the same name, pendulum, before you start setting it up.
NOTE: It's very important that all pendulum prims are listed orderly in the notecard, and that the lines TICK, TOCK, REST are in the same order for each prim. Care has been taken so the script outputs everything in order, but because of lag, a group of TICK-TOCK-REST lines could show up before its right place, so keep this in mind. The configuration notecard needs each TICK-TOCK-REST lines group in order, and the pendulum prims go from pendulum#1 in the notecard, to the last number.
Rest of options
Let's show again the picture of the menu options:
*** Under Construction ***